 For summer program (ESY, Elevate, etc) one printer will be set up so that staff from other locations may print at the assigned school from a FCPS WIndows device. This printer will be removed from all summer school staff (whose summer location is not their primary location) at the end of the summer program.
Steps for printing
- Request from the summer program administration the name of the one printer that has been setup for the summer program (example name CMS-B120-S4520)
- Make sure the target FCPS WIndows device is on the FCPS network
- Install printer on the device
- Sign in as yourself
- Open File Explorer (file folder icon on bottom task bar)
- Navigate to the F drive -> Curriculum -> Staff -> Printers
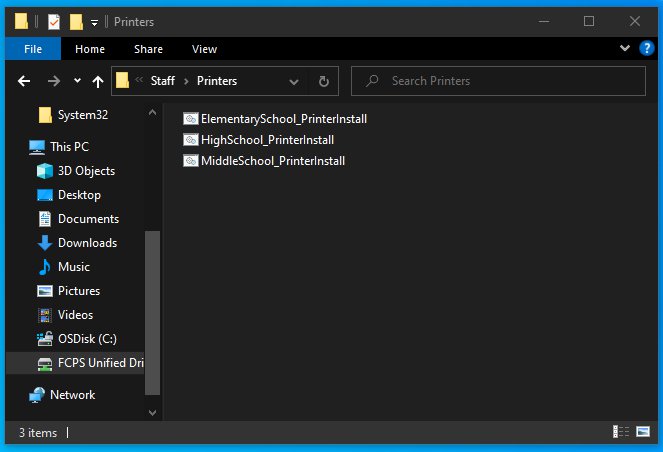
PrintInstaller scripts as seen in File Explorer F drive -> Curriculum -> Staff -> Printers - Run the appropriate PrinterInstall script (for example if working at an Elementary School, run the ElementarySchool_PrinterInstall) Note: this could take a minute or more to launch
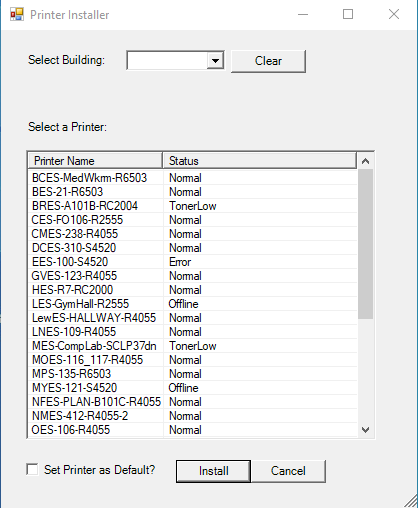
PrintInstaller with example of Elementary School - When the PrinterInstaller opens select the appropriate building then the printer from step 1 above

Printer Installer specific school - Optionally you can select the "Set Printer as Default?" option
- Press the Install button and let it complete Note: this could take a minute or more to complete
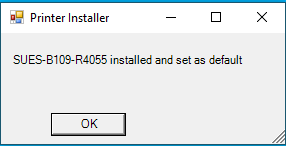
Printer Installer completed
- From the applications to print from, select the newly installed printer and print